Post by Speyducer on Nov 18, 2008 22:08:50 GMT
Leaky Waders – Let there be light!
Now is the time of year to take some time to check over the fishing gear, getting rid of unwanted stuff, and servicing & repairing stuff which requires maintenance.
One common gripe from all those who wade is leaking waders, & what to do with them. Such gripes may start day one or two of wearing such waders, making it a nuisance to obtain replacements or secure repairs. All is not lost!
I got a brand new pair of Simms Guide breathables about 3 years ago, and they have given me good service.


Within that ‘good service’, however, must be included an ‘L’ shaped tear on the breathable fabric on day two of wear, which was repaired overnight with cleansing, aquaseal inside & out, and a DIY patch of Duct Tape inside & out, and no leak or problem from that repair day onwards at that site.

However, due to the many times putting on & taking off the waders, and with the odd hook point puncture, gradually dampness seeped in, and this was becoming a nuisance. Whilst external identification of the hook point puncture was relatively easy, the dampness from the leaky seam, here marked with a pen on the outer layer, can be sometimes a bit of a problem to accurately identify.
Whilst others have advocated methods such as filling the waders with water & marking the drip-out points, or using a type of alcohol soaked over the suspect area which then stains the inner of the wader by a change of colour, and yet others have tried pressurizing the waders with an air pump & holding the suspect area under water to look for the stream of bubbles, an very elegant & less messy solution to the problems of identifying the leaking areas on waders is to shine a light on it.
Simply stated, take the dry waders into a darkened room, and armed only with a headtorch or similar small torch, and a marking pen, place the light within the waders & switch on. Light will show through the leaking areas:
Marked leaky area of seam, identified & marked.

Headtorch

Torch on inside wader showing what is seen over an intact area

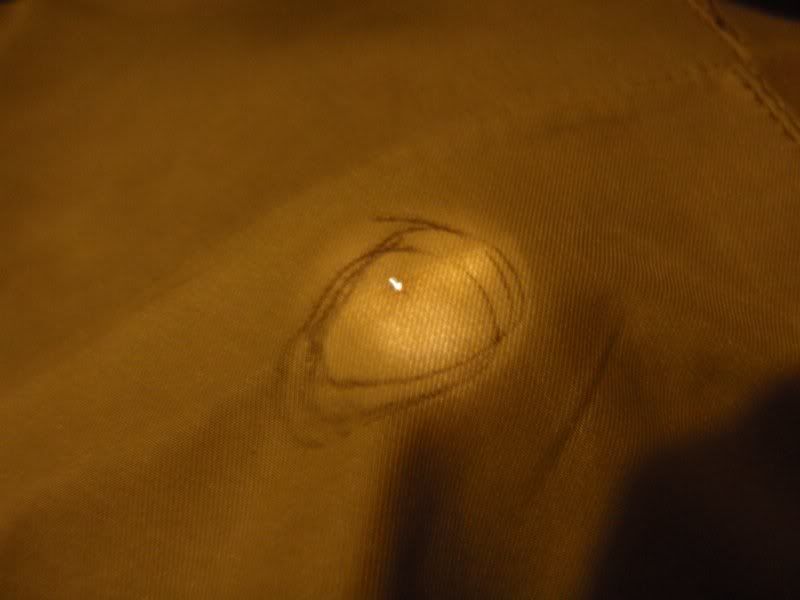
A pinhole of light is clearly seen when the torch is shone under the hook point hole. Mark the area with a pen to be repaired later

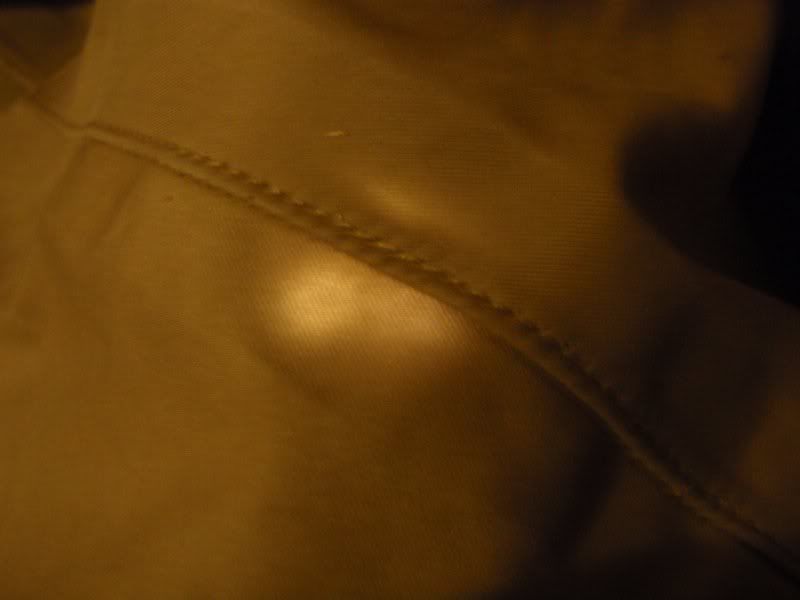
A normal seam with the light on behind it

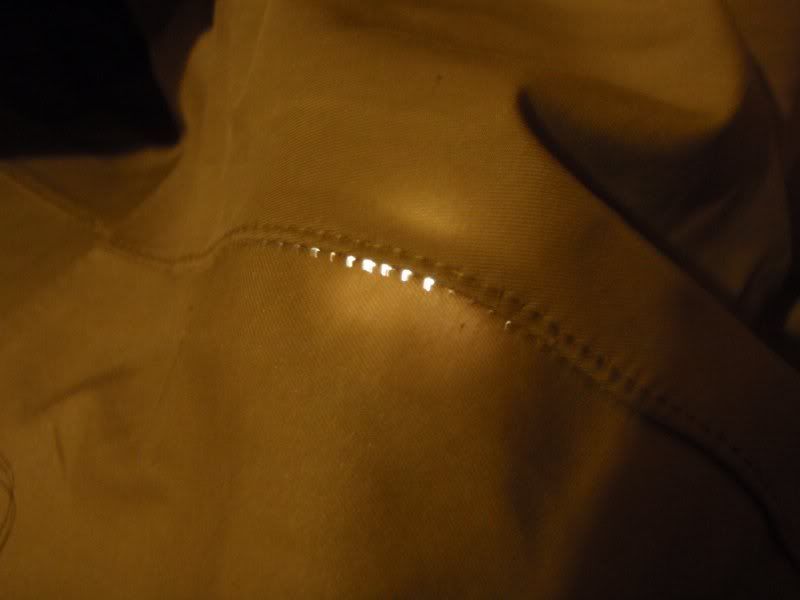
A leaky seam shows up as a series of pinholes of light

This idea isn’t new, but just an elegant & relatively easy way to identify those pesky leaks which we all get from time to time.
Mike
Now is the time of year to take some time to check over the fishing gear, getting rid of unwanted stuff, and servicing & repairing stuff which requires maintenance.
One common gripe from all those who wade is leaking waders, & what to do with them. Such gripes may start day one or two of wearing such waders, making it a nuisance to obtain replacements or secure repairs. All is not lost!
I got a brand new pair of Simms Guide breathables about 3 years ago, and they have given me good service.


Within that ‘good service’, however, must be included an ‘L’ shaped tear on the breathable fabric on day two of wear, which was repaired overnight with cleansing, aquaseal inside & out, and a DIY patch of Duct Tape inside & out, and no leak or problem from that repair day onwards at that site.

However, due to the many times putting on & taking off the waders, and with the odd hook point puncture, gradually dampness seeped in, and this was becoming a nuisance. Whilst external identification of the hook point puncture was relatively easy, the dampness from the leaky seam, here marked with a pen on the outer layer, can be sometimes a bit of a problem to accurately identify.
Whilst others have advocated methods such as filling the waders with water & marking the drip-out points, or using a type of alcohol soaked over the suspect area which then stains the inner of the wader by a change of colour, and yet others have tried pressurizing the waders with an air pump & holding the suspect area under water to look for the stream of bubbles, an very elegant & less messy solution to the problems of identifying the leaking areas on waders is to shine a light on it.
Simply stated, take the dry waders into a darkened room, and armed only with a headtorch or similar small torch, and a marking pen, place the light within the waders & switch on. Light will show through the leaking areas:
Marked leaky area of seam, identified & marked.

Headtorch

Torch on inside wader showing what is seen over an intact area

A pinhole of light is clearly seen when the torch is shone under the hook point hole. Mark the area with a pen to be repaired later

A normal seam with the light on behind it

A leaky seam shows up as a series of pinholes of light

This idea isn’t new, but just an elegant & relatively easy way to identify those pesky leaks which we all get from time to time.
Mike


 ...
...


